

 See My Latest Article on HelloNation
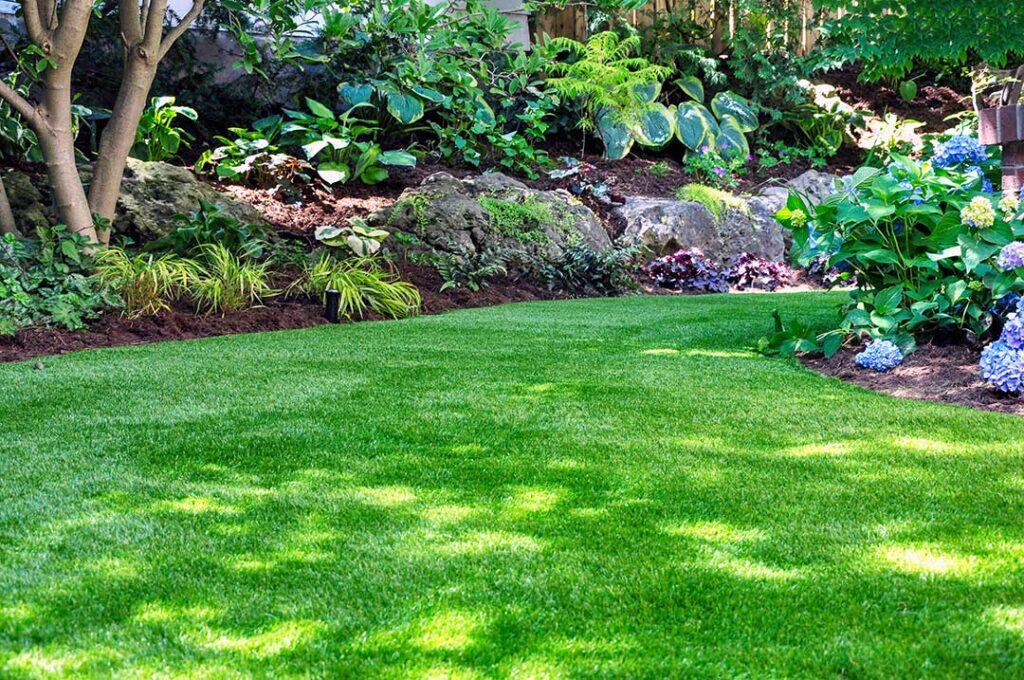
What Should Residents in Farmington Hills, MI Know Before Starting a Sod Project?
Sod can quickly transform a patchy or bare yard into a lush, green landscape. However, laying sod isn't quite as simple as rolling out green carpet. The soil type, timing, and preparation methods in Farmington Hills, MI can affect how well new sod takes root. Taking a thoughtful, step-by-step approach helps ensure long-term results rather than temporary fixes.
Local soils often include a mix of clay and loam, which impacts how well sod roots and drains. Spring and early fall are generally the best windows for installation, as the area’s weather brings moderate temperatures and steady rainfall—key conditions for sod establishment. Avoid hot, dry midsummer stretches and late autumn, when young roots may struggle before ground freeze.
How Should Soil Be Prepared for New Sod?
Proper soil preparation is essential for sod to thrive. In this region, lawns benefit from soil that drains well but holds enough moisture for root development.
Start by removing any old grass, weeds, and debris. This can be done with a sod cutter or a sharp spade. Next, till the soil to a depth of about 3-4 inches. This loosens compacted clay and helps roots penetrate more easily. If the soil has a lot of clay, consider mixing in compost or topsoil to improve drainage and organic content.
Level the area using a rake, ensuring there are no low spots where water might collect. After raking, lightly roll or tamp the soil to create a firm but not overly compacted surface. A soil test is also wise—a simple kit can reveal if the pH or nutrient level is out of balance, guiding any necessary amendments.
When Is the Best Time to Lay Sod in Farmington Hills?
For most lawns in the city, late April through early June and late August through September are ideal. The cooler weather and reliable moisture during these months reduce stress on new sod and help roots establish.
Trying to lay sod during intense summer heat can lead to quick drying and poor rooting, unless daily watering is feasible. In late fall, sod may not have enough time to develop roots before winter, making spring greening less reliable.
Which Tools and Materials Are Needed?
A successful sod installation doesn't require specialty equipment, but having the right tools on hand keeps the process efficient:
- Spade or sod cutter (for removing old turf)
- Rake (garden and landscape types)
- Tape measure (to calculate area)
- Wheelbarrow (for hauling compost or soil)
- Lawn roller (optional but helpful for firming soil and settling sod)
- Sharp knife (to trim sod rolls as needed)
- Garden hose and sprinkler
Sod is usually sold in rolls or slabs—plan ahead by measuring your yard thoroughly. Order a small percentage more than you think you need to account for trimming pieces to fit.
What Steps Should Be Followed to Lay Sod Correctly?
Successful sod installation in Farmington Hills hinges on both technique and timing. Here’s a step-by-step breakdown:
1. Soil Prep: Remove all old grass and weeds. Loosen and amend the soil, then grade and level.
2. Water the Soil: Moisten the prepared soil lightly about a day before installation, but avoid puddles.
3. Sod Delivery Timing: Coordinate delivery for the day you plan to install. Sod should be laid within 24 hours of cutting for best results.
4. Lay the Sod Rolls: Start along the longest straight edge of the yard, such as a driveway or sidewalk. Unroll sod pieces tightly together so seams are barely visible.
5. Stagger Seams: Place each new row of sod so seams are offset, similar to brickwork. This prevents visible lines and helps the lawn blend more naturally.
6. Trim to Fit: Use a sharp knife to cut sod around landscape beds, walkways, or trees.
7. Press Down: Lightly roll the sod or step on pieces at the seams to ensure good soil contact.
8. Water Immediately: After laying any significant section, water thoroughly so the soil below is damp 3-4 inches deep.
Work efficiently—heat and sunlight will quickly dry exposed roots. Don’t let sod pieces sit unlaid during installation, especially in full sun.
How Should Sod Be Watered and Cared For After Installation?
Water is the most critical factor in the first few weeks. Immediately after installation, water daily (or even twice a day if the weather is hot or windy) to keep the sod and soil below consistently moist. Avoid puddling, but don’t let the sod dry out.
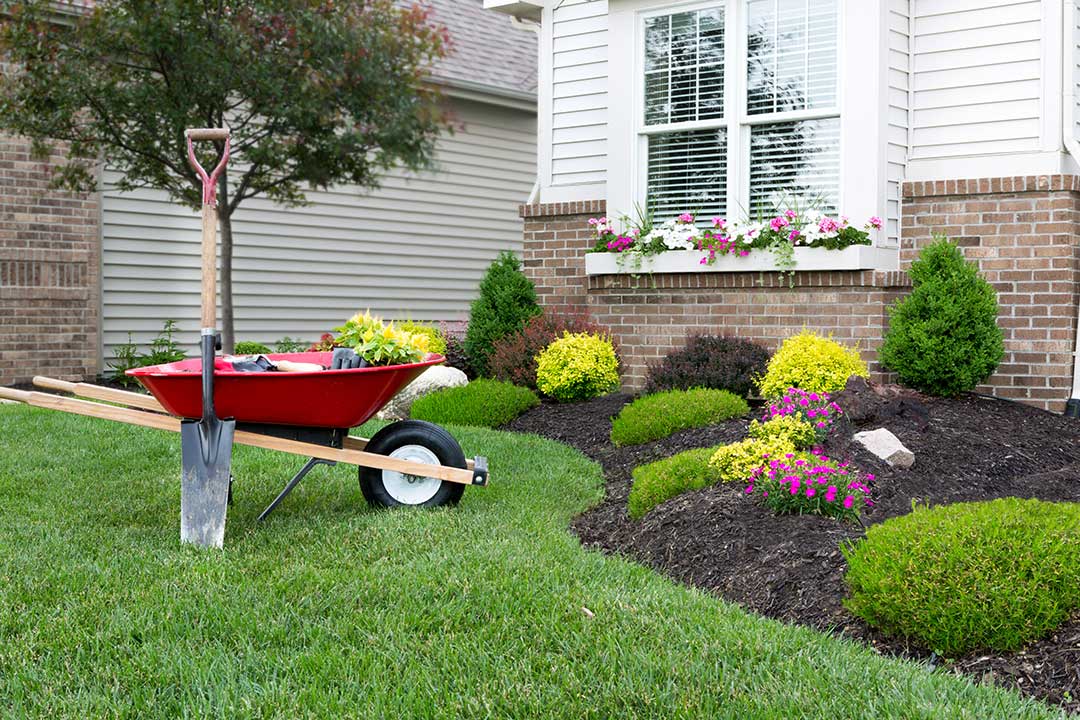
After the first 7-10 days, reduce watering to every other day, as roots begin to grow into the soil. By the third or fourth week, switch to watering deeply but less often. This encourages deep root growth essential for a drought-tolerant lawn.
New sod shouldn't be mowed until roots are established enough that it’s difficult to gently lift a corner—usually two to three weeks. When mowing for the first time, set the mower to the highest setting to avoid stressing immature grass. Avoid heavy foot traffic until the lawn feels firm and stable.
What Are Common Mistakes Residents Make When Laying Sod?
Several routine errors can hinder sod success, even with careful planning:
- Failing to prepare or level the soil, leading to poor drainage and uneven growth.
- Allowing sod rolls to sit in the sun for too long before laying.
- Under- or overwatering, which can cause the sod to dry out or root rot, respectively.
- Not pressing seams firmly, resulting in gaps or uneven settling.
- Mowing too soon or cutting grass too short, which weakens new sod.
Realistically, soil texture and microclimates may vary across the city, so keep an eye on moisture and look for signs of wilting or yellowing in the first couple of weeks.
Are Permits or Local Regulations Relevant for Installing Sod?
In most residential cases in Farmington Hills, permits are not required for lawn replacement or sod installation in private yards. However, homeowners should avoid obstructing public sidewalks or dumping old sod in street drains or natural areas—local guidelines prohibit this.
If living in a neighborhood with a homeowner association, check any landscaping regulations around types of turf grass or maintenance standards to avoid surprises.
Tips for Long-Term Success After Sod Is Established
Once rooted, occasional watering and regular mowing at the right height keep sod healthy over time. Consider annual soil testing and periodic topdressing with compost to improve soil structure and nutrient retention. Aerate compacted lawns every few years, especially if the soil feels hard underfoot after rain.
Even in mature yards, seasonal leaf cleanup and avoiding excess fertilizer help maintain both appearance and environmental health.